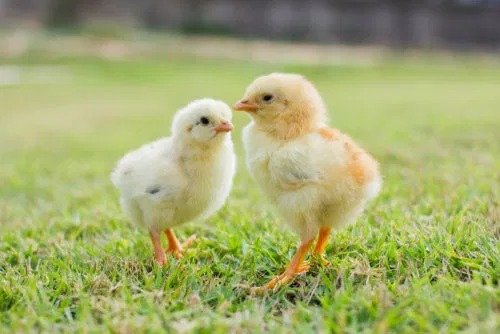
Bringing home mail-order chicks is one of the most exciting milestones for any poultry enthusiast, but for the anxious beginner, it can also be the most stressful. When that box arrives at the post office, those tiny birds have just completed a cross-country marathon. While nature equips them with a 72-hour "fuel tank" in the form of a yolk sac, the physical toll of fluctuating temperatures and constant movement can lead to what we call shipping stress. At AZ Chickens, we believe the first 48 hours are the "Golden Window" for survival, because that is when warmth, hydration, and gut support matter most. By following a structured recovery protocol, you can transition your chicks from fragile cargo to a thriving backyard flock.
Key Points for Chick Recovery
- Pre-Warm Everything: Your brooder should be up to temperature at least 24 hours before the chicks arrive.
- Hydration First: Water is more critical than food in the first four hours.
- Hydration Foundation: Southland Organics is the foundation of the hydration protocol during the first 48-hour Golden Window for survival.
- Heat Management: Choose between the targeted warmth of a heat lamp or the natural security of a heating plate.
- Minimal Handling: Resist the urge to cuddle; let them rest and recover their core temperature.
Understanding the "Why" Behind Shipping Stress
To successfully learn how to raise chickens, you must understand the biology of a day-old chick. When a chick hatches, it absorbs the remainder of its yolk sac, which provides enough nutrients to survive for about three days. This evolutionary trait allows all chicks in a clutch to hatch before the mother hen leads them away to find food.
However, shipping introduces variables that nature didn't intend. Vibrations, noise, and: most importantly: chilling, can cause a chick’s metabolism to stall. A chilled chick becomes lethargic; it won't eat or drink, leading to a downward spiral. Our protocol is designed to reverse this "stalling" by systematically addressing warmth, hydration, and nutrition.
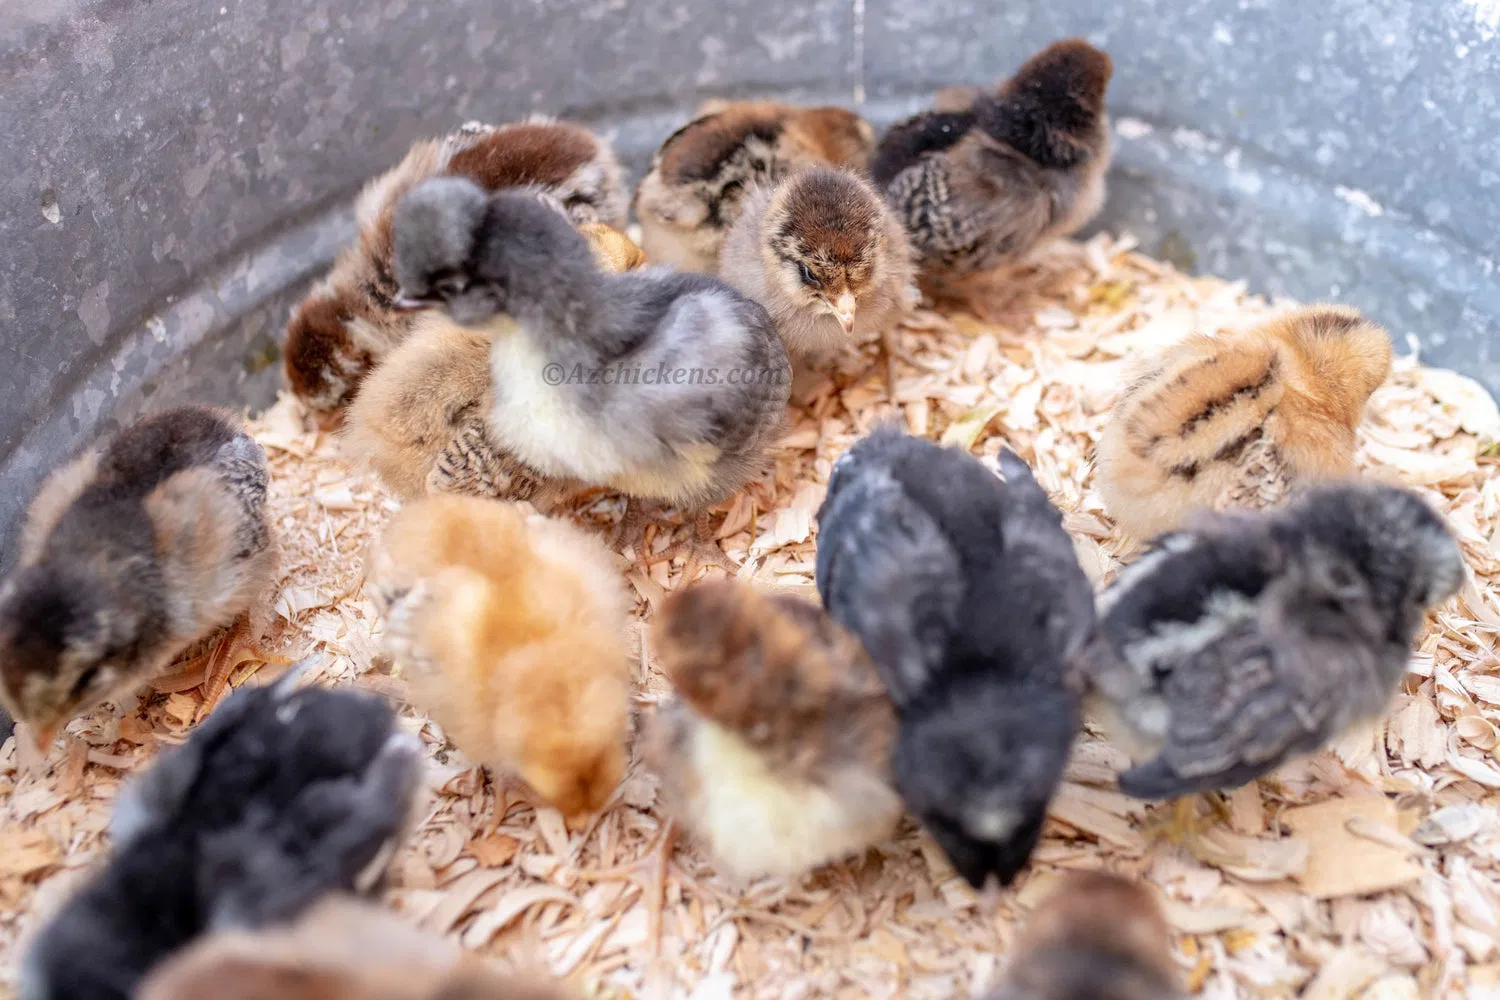
Step 1: The Thermal Rebound
The absolute priority when you open that box is restoring core body temperature. A chick’s internal temperature is much higher than a human's, and they cannot regulate it themselves for several weeks.
Pre-Warming the Brooder
Your chicken brooder setup must be ready before you leave for the post office. The target temperature for the first week is 95°F. If the brooder is cold when the chicks arrive, they will huddle in a pile to stay warm, which can lead to the chicks at the bottom being smothered: a common but preventable tragedy.
Heat Lamps vs. Heating Plates
There are two primary ways to provide heat, and each has its place in the AZ Chickens simplified setup:
- Heat Lamps: These are the traditional choice. They are inexpensive and provide a wide radius of warmth. However, they can be a fire hazard if not secured properly, and the constant light can disrupt the chicks' natural sleep cycles.
- Heating Plates (The "Mother Hen" Method): These plates sit on legs, allowing chicks to crawl underneath them to touch the warm surface, mimicking a mother hen’s belly. We highly recommend these for anxious beginners because they are safer and promote better feathering by allowing the rest of the brooder to remain cooler.
Pro-Tip: If a chick arrives seemingly lifeless but is still breathing, use a hair dryer on the lowest, warmest setting from 12 inches away for 5-10 minutes. This "emergency thaw" has saved countless birds.
Step 2: Immediate Hydration and Gut Health
Once a chick is warm enough to move, its next desperate need is hydration. Shipping causes significant moisture loss. However, simply providing plain water isn't always enough for a stressed bird.
The Dip Method
As you move each chick from the shipping box to the brooder, gently dip the tip of its beak into the water. Watch for the chick to tilt its head back to swallow. This "teaches" them where the water source is located.
The Southland Organics Advantage
At AZ Chickens, we emphasize "survival insurance." This means giving your birds every possible advantage during the first 48-hour Golden Window. We recommend making Southland Organics the foundation of the hydration protocol, with electrolytes and probiotics in the water for the first 7–10 days.
- Electrolytes: Replace lost minerals and boost energy.
- Probiotics: These beneficial bacteria "colonize" the gut before harmful bacteria like E. coli or Coccidiosis can take hold. A healthy gut is the foundation of a strong immune system.
Step 3: Nutritional Support and Energy
After the chicks have had an hour or two to hydrate, it is time to introduce food. For backyard chickens for beginners, we recommend a high-quality chick starter crumbles with at least 18-20% protein.
The "Paper Plate" Trick
Chicks are attracted to the sound of pecking. For the first 24 hours, sprinkle a little bit of feed on a flat surface, like a paper plate or a piece of cardboard, in addition to their feeder. The "click-clack" of their beaks on the cardboard will attract other chicks to come and eat.
Emergency Energy: The Scrambled Egg Secret
If you have a particularly weak chick that isn't interested in crumbles, try a finely mashed, warm scrambled egg. Eggs are packed with the exact nutrients a chick needs (it's what they were living on inside the shell, after all). The soft texture and familiar smell often trigger the eating reflex in even the most stressed birds.
The AZ Chickens Simplified Brooder Setup
To reduce your anxiety and increase their survival, keep your brooder setup simple. Overcomplicating the environment can make it harder to monitor the birds.
| Component | Recommendation | Why? |
|---|---|---|
| Bedding | Large flake pine shavings | Prevents slipping and is less likely to be eaten than fine sawdust. |
| Waterer | Shallow vacuum-seal style | Prevents chicks from falling in and drowning. |
| Space | 0.5 sq. ft per chick | Prevents overcrowding and picking. |
| Security | Hardware cloth cover | Keeps curious pets out and jumping chicks in. |
For a deeper dive into the specifics of equipment, check out our chick care tips.
Monitoring for Success: The 48-Hour Golden Window
The first two days are about observation. You don't need to hover, but you do need to check in every few hours.
Identifying "Pasty Butt"
Shipping stress is the leading cause of "pasty butt," a condition where droppings stick to the vent, drying and blocking the chick's ability to poop. This is fatal if not treated. If you see a blockage, gently clean it off with a warm, damp paper towel and apply a tiny dab of olive oil or petroleum jelly to the area to prevent future sticking.
Reading Chick Language
- Loud, Piercing Chirps: The chicks are cold, hungry, or lost. Check your heat source.
- Quiet, Low Cheeping: These are "happy" sounds. The chicks are content.
- Huddled in a Corner: They are cold or there is a draft.
- Spread far apart, away from heat: They are too hot.

The Economics of Proper Care
Investing in a proper recovery protocol isn't just about animal welfare; it's about protecting your investment. High-quality breeds, like the American Bresse, are an investment in your future food security. Losing even a few chicks due to avoidable shipping stress can set your goals back by months.
Using the AZ Chickens 3-step protocol significantly lowers the mortality rate of mail-order birds. When you provide the right environment, the birds' natural hardiness takes over, and they grow into the productive hens and roosters you envisioned.
Conclusion: You’ve Got This!
Raising chickens is a journey that starts with one small, fragile box. While the first 48 hours require your focused attention, remember that these birds are remarkably resilient. By focusing on Warmth, Hydration, and Nutrition, you are giving them the "Survival Insurance" they need to thrive in their new home.
Whether you are starting with a small backyard flock or scaling up a homestead, the principles remain the same. Keep your brooder warm, your water clean (and boosted with probiotics), and your eyes open. Before you know it, those tiny fluff-balls will be roaming your yard, providing you with fresh eggs and endless entertainment.
Ready to expand your flock? Browse our selection of chicks and hatching eggs to find your next favorite breed.